A smartphone is an important item to everyone and the gadgets related to it may damaged in any situation. Most probably, most of the problems you can find with a malfunctioning charging connector for most users are the desired fix ends. The following are but some scenarios in which one frantically searches for a way to fix their phone’s charging socket.
This blog will guide you through the process of how to repair your charging socket for your phone with a step-by-step, detailed mobile charger port repair guide.
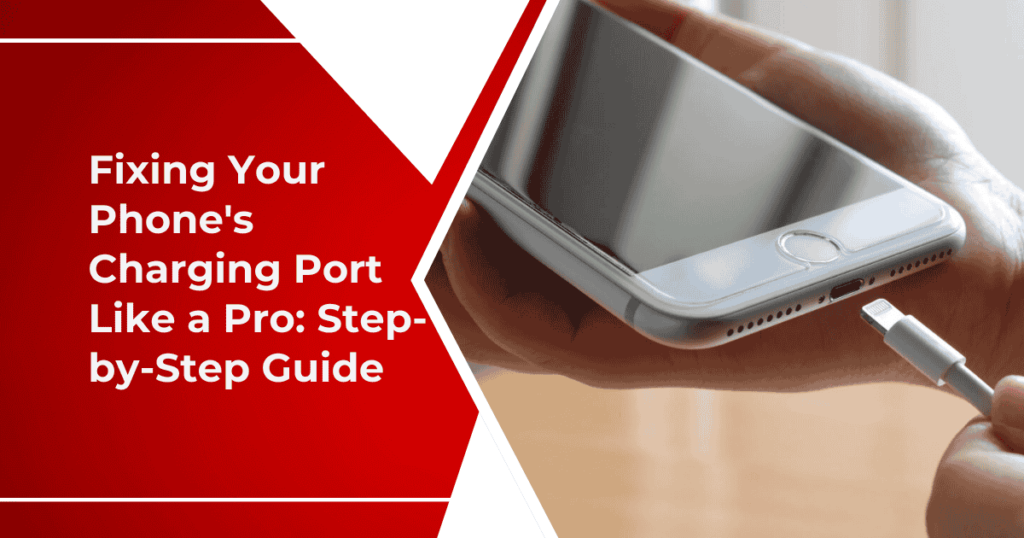
Understanding the Charging Connector
Before taking up the repair, I should first explain what a charging connector is and what it does in your gadget. For any phone, it is through the charging connector that the charger transfers power to the phone; therefore, there is a buildup of dust and even physical damage that may take a while and cause a problem in recharging the gadget. In cases like these, seeking professional mobile repair services can ensure that your charging connector is cleaned or replaced properly, restoring your device’s functionality.
Common Issue of a Faulty Charging Connector
Identifying the signs of a bad charging connector is like nipping problems in the bud, as it prevents bad situations from happening. Here are some critical symptoms to pay attention to following guide:
- Inconsistent Charging: If the phone starts charging only when the cable is arranged in a certain way, this could be a sign of a malfunctioning charging connector. If your gadget does not want to respond at all once connected to a charger, it might mean that your charging port isn’t functioning properly.
- Loose Connection: If the charging cable does not fit snugly into the outlet, meaning that it feels loose or wobbly when plugged in, then one would suspect damage or wear to the port. Should the phone start to heat up strangely while charging, this may be a sign of a connector issue that needs some attention.
- Error Messages and damage: Sometimes, you may get error messages or notifications about charging. That may indicate a problem related to the charging port or the device itself. Anything visible inside the port, such as bent pins and debris, will prevent proper connection and charging.
How to Fix the Charging Socket on Your Phone
It would not be a problem if the charging socket of your phone was malfunctioning. Usually, most charging problems can be solved through simple and easy-to-follow troubleshooting and repair procedures. Read here a step-by-step guide on how to resolve charging socket problems in your phone:

Step 1: Gather Your Tools
To fix the charging socket you will require some of the tools which are a Small Phillips screwdriver, a Plastic pry tool or guitar pick, Tweezers, Isopropyl alcohol, Cotton swabs, an Alternate charging port (if applicable), and a Screw tray to help you keep everything clean and organized. Before you begin, you should have these tools readily available.
Step 2: Power Off Your Device
Completely power off your phone before you start making any repairs. This is the safety major that you should take care of or else there are a lot of mishaps that can happen. Always make sure to begin with your equipment’s power off. When repairing, this will prevent electrical damage or short circuits.
Step 3: Remove the Back Cover
Depending on the type of mobile phone you may be using, you will remove the back cover. Use a plastic pry tool to gently lift the cover off. Be very gentle here so that clips or other components are not damaged.
Step 4: Access the Charging Port
Locate the charging port in the circuit board. If your phone has a battery that can be removed, you might have to remove it. Be sure to note where the screws that you have removed go. With the back cover and battery removed, locate the charging port on the main circuit board. Take some time getting to know what is on one side of it.
Step 5: Clean the Charging Port
Clean the charging port lightly with isopropyl alcohol-soaked cotton. Sometimes it may be dust or debris accumulation that causes recharging problems; therefore, ensure the area is free of any obstructions.
Step 6: Inspect for Damage
Inspect the charging connector for damage or signs of bent pins or loose connections. In the event that such damage occurs, then the port may have to be replaced. For any visible damage in the charging connector, get prepared to replace the charging port if there are seven pins bent or if there is a loose connection.
Step 7: Replace the Charging Port (If Necessary)
If the charging port is damaged you can disassemble the circuit board desoldering with soldering iron. Connect the new charging port and solder in place for a secure bond. Remove the battery from its housing by unscrewing it carefully. Place the screws into your screw tray.
Step 8: Reassemble Your Phone
Now, plug that new charging port in firmly, and your phone is back in the shape it originally but there are a few points which you should take care of, for example: If you removed the battery, put that in carefully. Essentially, simply put, reattach the back cover making sure all clips are there. Switch on your phone to test the new charging connector.
Step 9: Test the Charging Socket
Try switching your phone on and connecting it to a charger to see if that resolves your issue. If it now charges as should be, congratulations- your repair was a success. Reassemble your mobile and try if it will charge using its charger. If it’s working fine and charges normally, that means you have succeeded and repaired the charging connector of your phone.
Step 10: Solder the New Charging Port
Now it’s time to install the new charging port and put the new charging port on the circuit board. Apply the solder to the soldering joints in order to hold them in place. Allow the solder to cool before proceeding.
When to Seek Professional Help
If after following these steps in the mobile charger port repair guide your phone still does not charge, then expert help is undoubtedly required. An expert technician would find a proper diagnosis and maybe some more issues that you might not have known existed without having a closer look.
Preventive Measures
Here are precautions to take to keep your charging port in good condition longer and prevent future problems.
- Cleaning the Port: Regularly clean the port with a soft brush or compressed air to prevent dust from sticking.
- Use High-Quality Chargers: Invest in quality chargers and cables to avoid damage caused by poor-quality chargers.
- Do not Overcharge: Switch off your phone when the charge percentage reaches 100 percent, as it can create extreme heating or damage to the gadget.
Conclusion
Repairing your mobile phone charging connector can look daunting, but actually, with the right tools and guidance, it is completely possible. Learning from this mobile charger port repair guide will save you time and money. If you get stuck, do not hesitate to call a professional. By giving the right care and maintenance to your smartphone, it will faithfully serve you for many years. For professional support, trust Surya K Telecom, the leading mobile repair center! Our experienced team is on hand to resolve any issues you might face with your device.